GitLab NPM Registry (PREMIUM)
Introduced in GitLab Premium 11.7.
With the GitLab NPM Registry, every project can have its own space to store NPM packages.
NOTE: Note: Only scoped packages are supported.
Enabling the NPM Registry
NOTE: Note: This option is available only if your GitLab administrator has enabled support for the NPM registry.(PREMIUM ONLY)
After the NPM registry is enabled, it will be available for all new projects by default. To enable it for existing projects, or if you want to disable it:
- Navigate to your project's Settings > General > Permissions.
- Find the Packages feature and enable or disable it.
- Click on Save changes for the changes to take effect.
You should then be able to see the Packages section on the left sidebar.
Before proceeding to authenticating with the GitLab NPM Registry, you should get familiar with the package naming convention.
Package naming convention
Packages must be scoped in the root namespace of the project. The package name may be anything but it is preferred that the project name be used unless it is not possible due to a naming collision. For example:
| Project | Package | Supported |
|---|---|---|
foo/bar |
@foo/bar |
Yes |
foo/bar/baz |
@foo/baz |
Yes |
foo/bar/buz |
@foo/anything |
Yes |
gitlab-org/gitlab |
@gitlab-org/gitlab |
Yes |
gitlab-org/gitlab |
@foo/bar |
No |
The regex that is used for naming is validating all package names from all package managers:
/\A\@?(([\w\-\.\+]*)\/)*([\w\-\.]+)@?(([\w\-\.\+]*)\/)*([\w\-\.]*)\z/It allows for capital letters, while NPM does not, and allows for almost all of the
characters NPM allows with a few exceptions (~ is not allowed).
NOTE: Note: Capital letters are needed because the scope is required to be
identical to the top level namespace of the project. So, for example, if your
project path is My-Group/project-foo, your package must be named @My-Group/any-package-name.
@my-group/any-package-name will not work.
CAUTION: When updating the path of a user/group or transferring a (sub)group/project:
If you update the root namespace of a project with NPM packages, your changes will be rejected. To be allowed to do that, make sure to remove any NPM package first. Don't forget to update your .npmrc files to follow the above naming convention and run npm publish if necessary.
Now, you can configure your project to authenticate with the GitLab NPM Registry.
Authenticating to the GitLab NPM Registry
If a project is private or you want to upload an NPM package to GitLab, credentials will need to be provided for authentication. Support is available for OAuth tokens or personal access tokens.
CAUTION: 2FA is only supported with personal access tokens:
If you have 2FA enabled, you need to use a personal access token with OAuth headers with the scope set to api. Standard OAuth tokens won't be able to authenticate to the GitLab NPM Registry.
Authenticating with an OAuth token
To authenticate with an OAuth token or personal access token, set your NPM configuration:
# Set URL for your scoped packages.
# For example package with name `@foo/bar` will use this URL for download
npm config set @foo:registry https://gitlab.com/api/v4/packages/npm/

# Add the token for the scoped packages URL. This will allow you to download
# `@foo/` packages from private projects.
npm config set '//gitlab.com/api/v4/projects/<your_project_id>/packages/npm/:_authToken' "<your_token>"

# Add token for uploading to the registry. Replace <your_project_id>
# with the project you want your package to be uploaded to.
npm config set '//gitlab.com/api/v4/packages/npm/:_authToken' "<your_token>"
Replace <your_project_id> with your project ID which can be found on the home page
of your project and <your_token> with your OAuth or personal access token.
If you have a self-hosted GitLab installation, replace gitlab.com with your
domain name.
You should now be able to download and upload NPM packages to your project.
NOTE: Note: If you encounter an error message with Yarn, see the troubleshooting section.
Using variables to avoid hard-coding auth token values
To avoid hard-coding the authToken value, you may use a variables in its place:
npm config set '//gitlab.com/api/v4/projects/<your_project_id>/packages/npm/:_authToken' "${NPM_TOKEN}"
npm config set '//gitlab.com/api/v4/packages/npm/:_authToken' "${NPM_TOKEN}"
Then, you could run npm publish either locally or via GitLab CI/CD:
-
Locally: Export
NPM_TOKENbefore publishing:NPM_TOKEN=<your_token> npm publish -
GitLab CI/CD: Set an
NPM_TOKENvariable under your project's Settings > CI/CD > Variables.
Authenticating with a CI job token
Introduced in GitLab Premium 12.5.
If you’re using NPM with GitLab CI/CD, a CI job token can be used instead of a personal access token. The token will inherit the permissions of the user that generates the pipeline.
Add a corresponding section to your .npmrc file:
@foo:registry=https://gitlab.com/api/v4/packages/npm/
//gitlab.com/api/v4/packages/npm/:_authToken=${CI_JOB_TOKEN}
//gitlab.com/api/v4/projects/${CI_PROJECT_ID}/packages/npm/:_authToken=${CI_JOB_TOKEN}
Uploading packages
Before you will be able to upload a package, you need to specify the registry
for NPM. To do this, add the following section to the bottom of package.json:
  "publishConfig": {
    "@foo:registry":"https://gitlab.com/api/v4/projects/<your_project_id>/packages/npm/"
  }
Replace <your_project_id> with your project ID, which can be found on the home
page of your project, and replace @foo with your own scope.
If you have a self-hosted GitLab installation, replace gitlab.com with your
domain name.
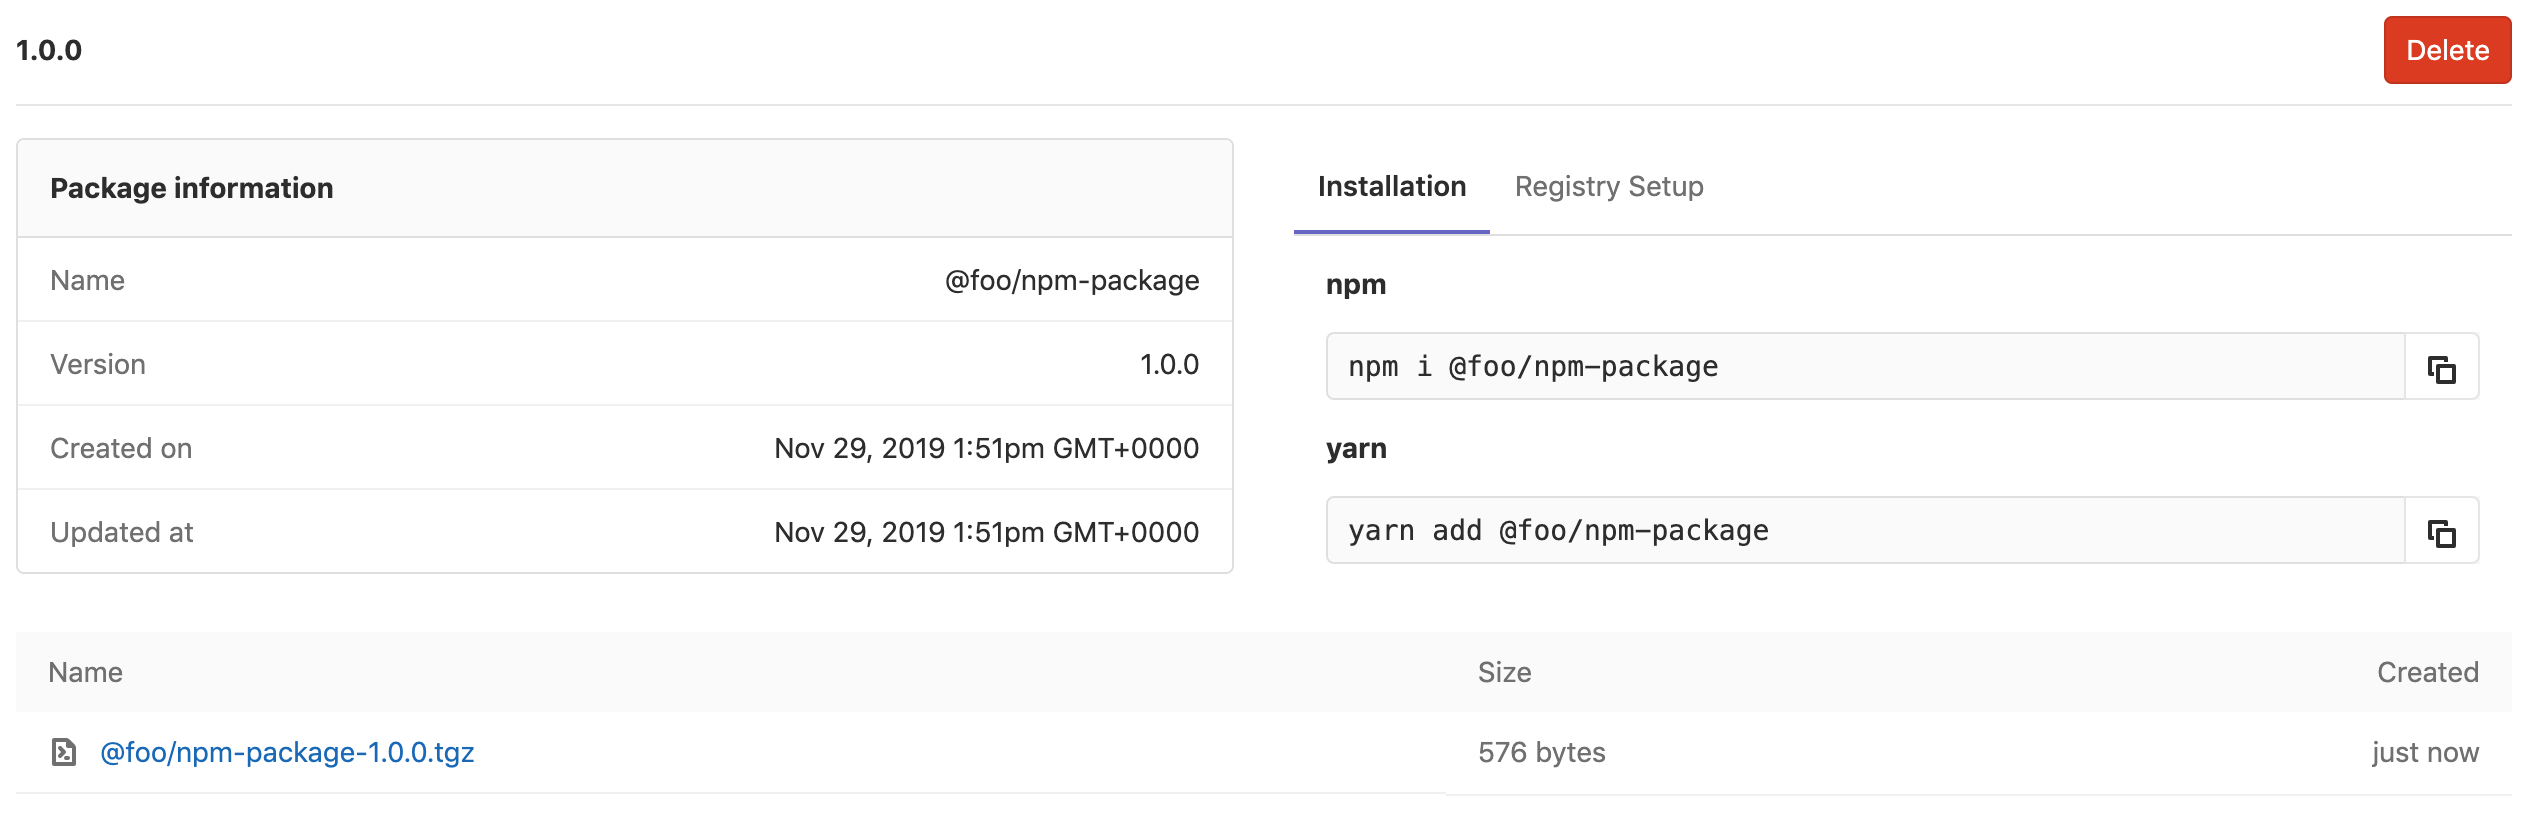
Once you have enabled it and set up authentication, you can upload an NPM package to your project:
npm publishYou can then navigate to your project's Packages page and see the uploaded packages or even delete them.
If you attempt to publish a package with a name that already exists within
a given scope, you will receive a 403 Forbidden! error.
Uploading a package with the same version twice
You cannot upload a package with the same name and version twice, unless you delete the existing package first. This aligns with npmjs.org's behavior, with the exception that npmjs.org does not allow users to ever publish the same version more than once, even if it has been deleted.
Troubleshooting
Error running yarn with NPM registry
If you are using yarn with the NPM registry, you may get an error message like:
yarn install v1.15.2
warning package.json: No license field
info No lockfile found.
warning XXX: No license field
[1/4] 🔍  Resolving packages...
[2/4] 🚚  Fetching packages...
error An unexpected error occurred: "https://gitlab.com/api/v4/projects/XXX/packages/npm/XXX/XXX/-/XXX/XXX-X.X.X.tgz: Request failed \"404 Not Found\"".
info If you think this is a bug, please open a bug report with the information provided in "/Users/XXX/gitlab-migration/module-util/yarn-error.log".
info Visit https://yarnpkg.com/en/docs/cli/install for documentation about this command
In this case, try adding this to your .npmrc file (and replace <your_oauth_token>
with your OAuth or personal access token):
//gitlab.com/api/v4/projects/:_authToken=<your_oauth_token>
npm publish targets default NPM registry (registry.npmjs.org)
Ensure that your package scope is set consistently in your package.json and .npmrc files.
For example, if your project name in GitLab is foo/my-package, then your package.json file
should look like:
{
  "name": "@foo/my-package",
  "version": "1.0.0",
  "description": "Example package for GitLab NPM registry",
  "publishConfig": {
    "@foo:registry":"https://gitlab.com/api/v4/projects/<your_project_id>/packages/npm/"
  }
}
And the .npmrc file should look like:
//gitlab.com/api/v4/projects/<your_project_id>/packages/npm/:_authToken=<your_oauth_token>
//gitlab.com/api/v4/packages/npm/:_authToken=<your_oauth_token>
@foo:registry=https://gitlab.com/api/v4/packages/npm/
npm install returns Error: Failed to replace env in config: ${NPM_TOKEN}
You do not need a token to run npm install unless your project is private (the token is only required to publish). If the .npmrc file was checked in with a reference to $NPM_TOKEN, you can remove it. If you prefer to leave the reference in, you'll need to set a value prior to running npm install or set the value using GitLab environment variables:
NPM_TOKEN=<your_token> npm installNPM dependencies metadata
Introduced in GitLab Premium 12.6.
Starting from GitLab 12.6, new packages published to the GitLab NPM Registry expose the following attributes to the NPM client:
- name
- version
- dist-tags
- dependencies
- dependencies
- devDependencies
- bundleDependencies
- peerDependencies
- deprecated
NPM distribution tags
Introduced in GitLab Premium 12.7.
Dist Tags for newly published packages are supported, and they follow NPM's convention where they are optional, and each tag can only be assigned to 1 package at You can add distribution tags for newly published packages. They follow NPM's convention where they are optional, and each tag can only be assigned to one package at a time. The latest tag is added by default when a package is published without a tag. The same goes to installing a package without specifying the tag or version.
Examples of the supported dist-tag commands and using tags in general:
npm publish @scope/package --tag               # Publish new package with new tag
npm dist-tag add @scope/package@version my-tag # Add a tag to an existing package
npm dist-tag ls @scope/package                 # List all tags under the package
npm dist-tag rm @scope/package@version my-tag  # Delete a tag from the package
npm install @scope/package@my-tag              # Install a specific tag
CAUTION: Warning: Due to a bug in NPM 6.9.0, deleting dist tags fails. Make sure your NPM version is greater than 6.9.1.